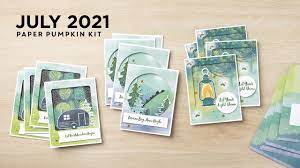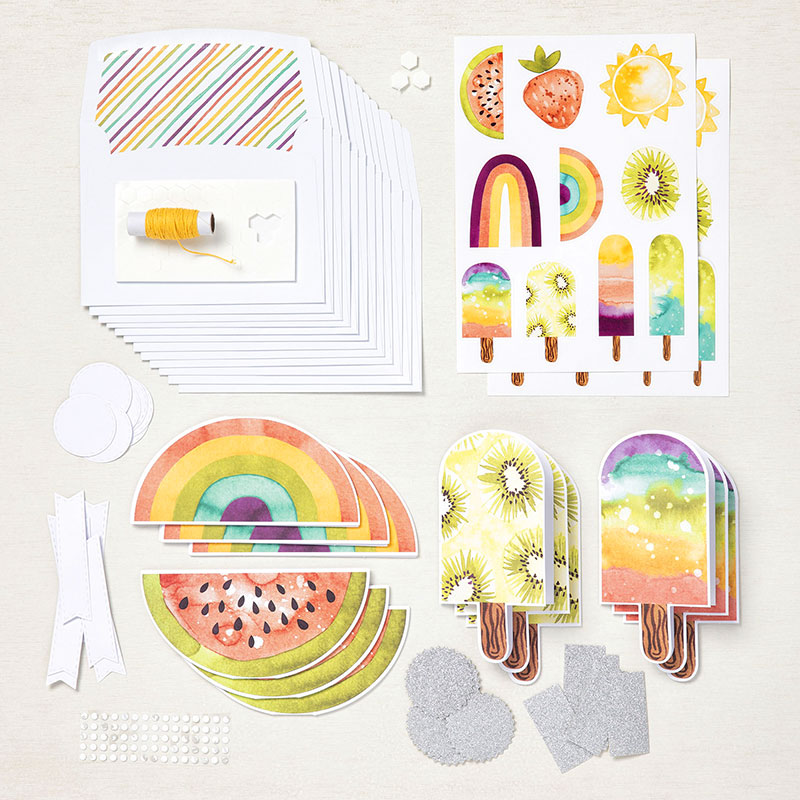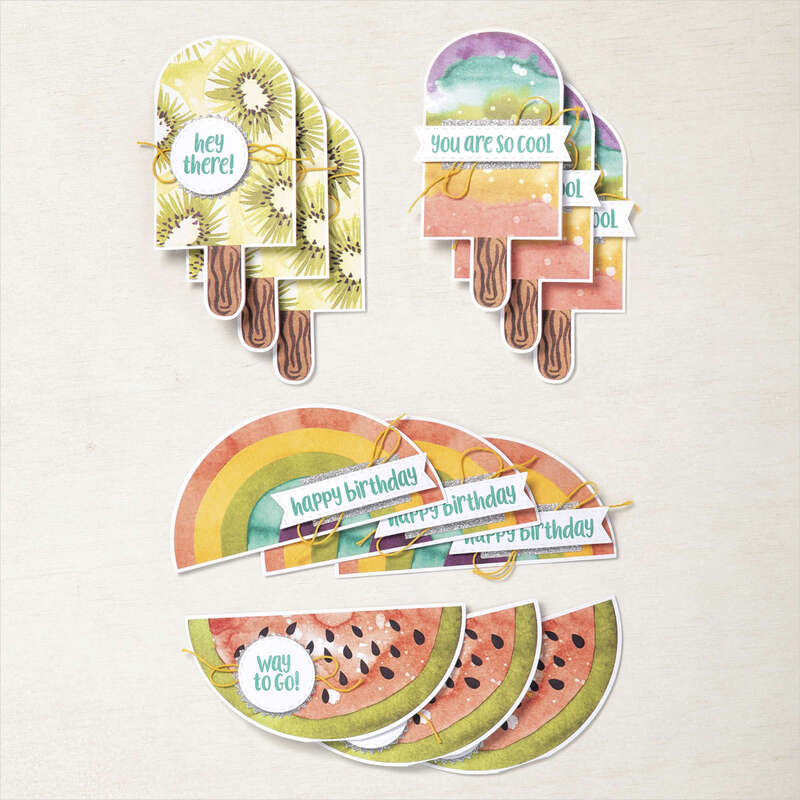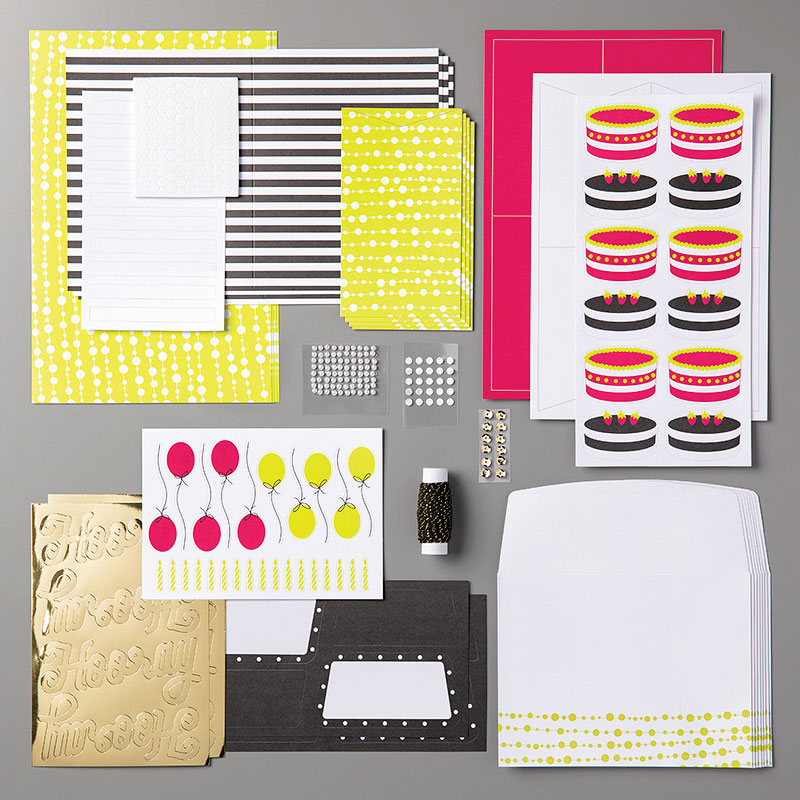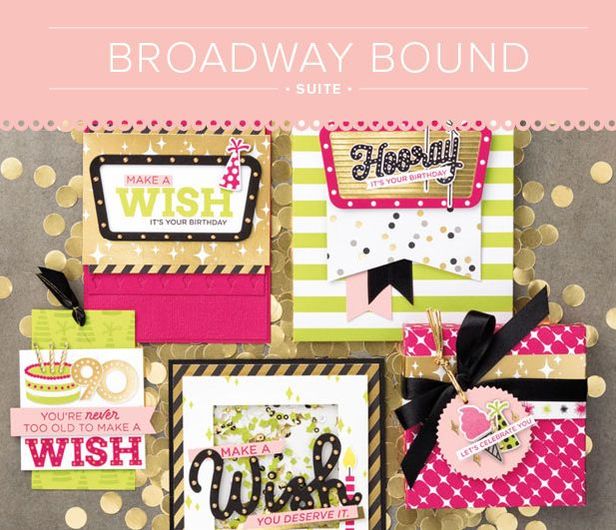
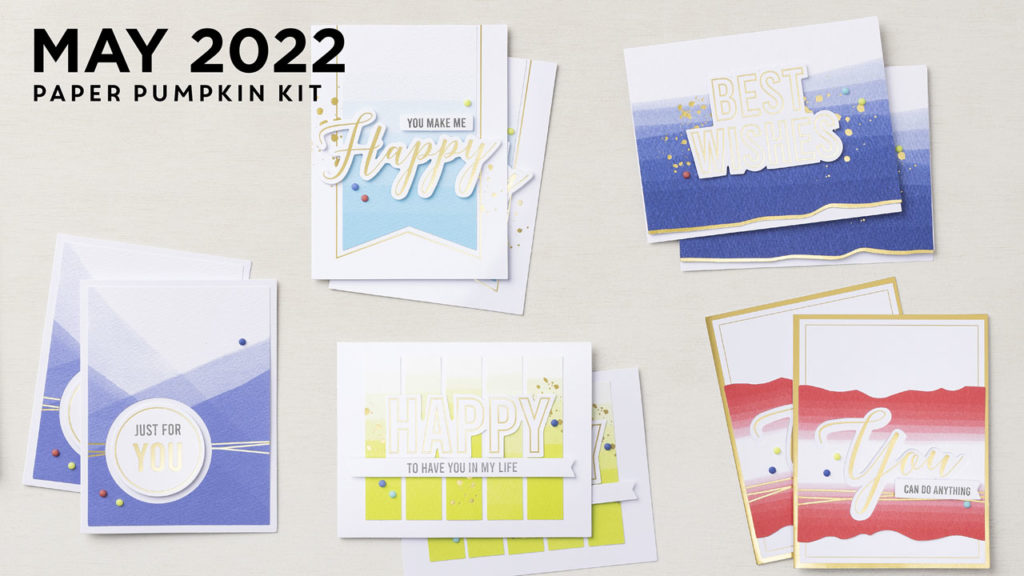
Thanks for hopping over here to check out my alternative projects for this month's kit! I was so inspired by the colors and the touches of gold that creating this month was so easy! The finished kit makes 10 cards, which is awesome! I didn't want to take away from the gorgeousness, so I took an extra piece and the stamp set to make my projects...
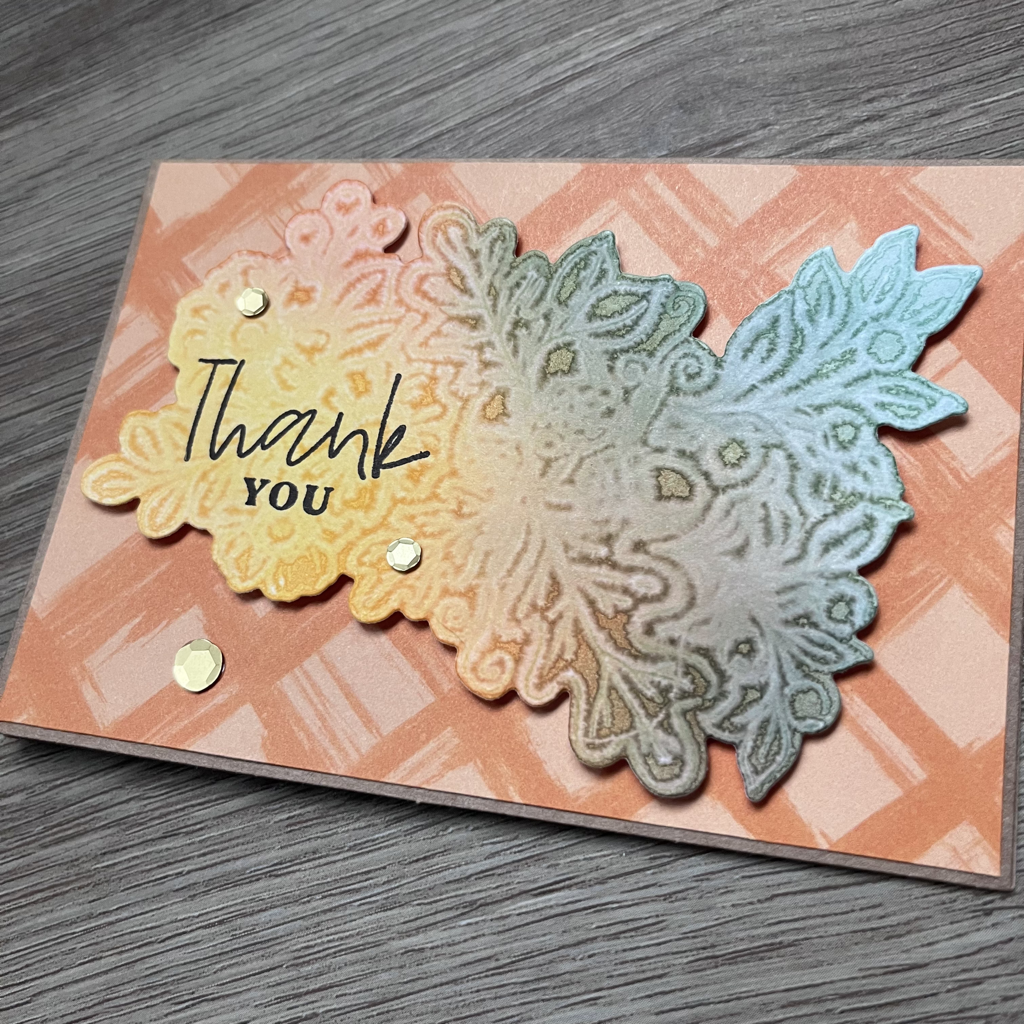
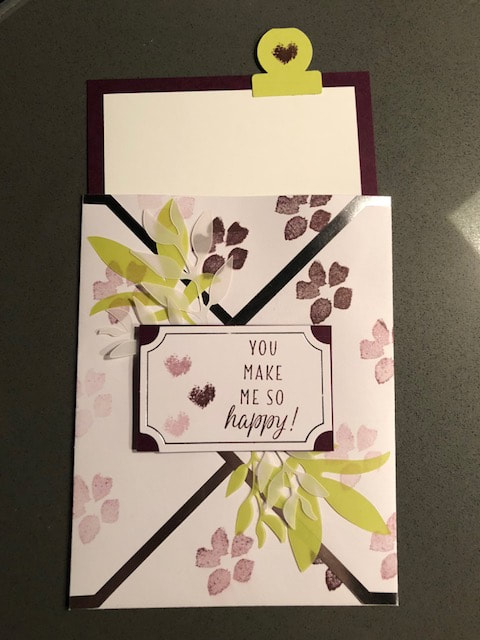
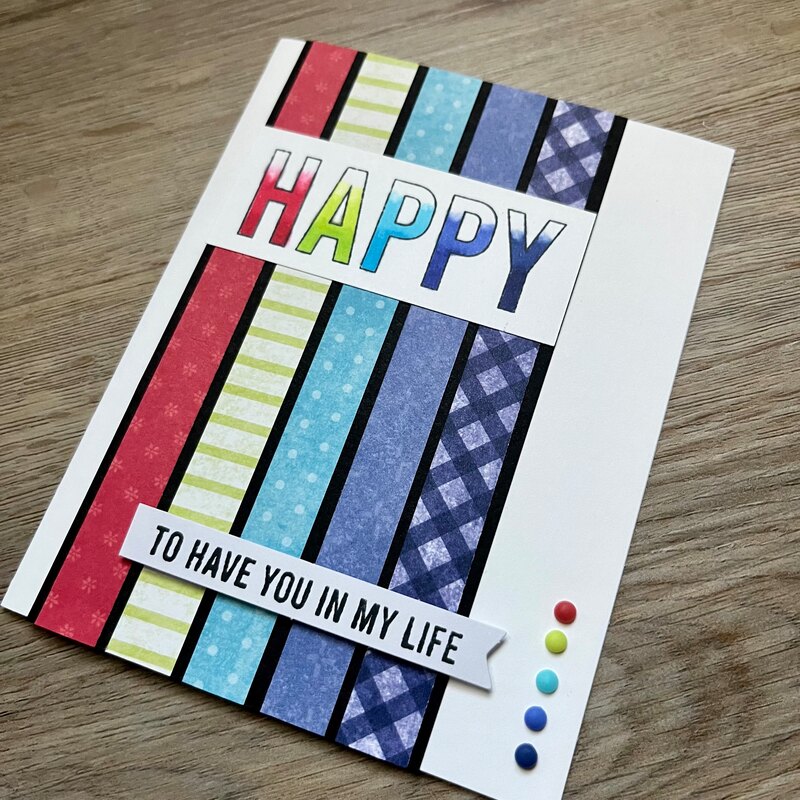
My card features the HAPPY stamp stamped on a strip of white and then I used the Blend markers (plus the Color Lifter) to create the ombre lettering. Then I matched the letters with five 1/2 inch strips of the Tea Boutique paper (it is more than tea cups-- I love the "B" side of the paper and that it features all five new In-Colors!)
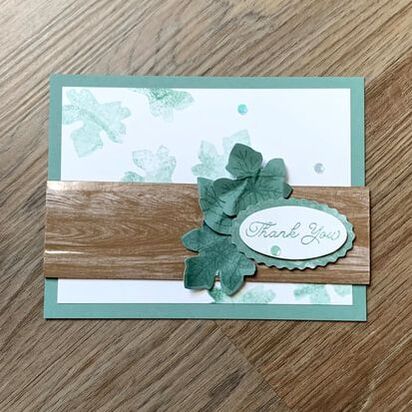
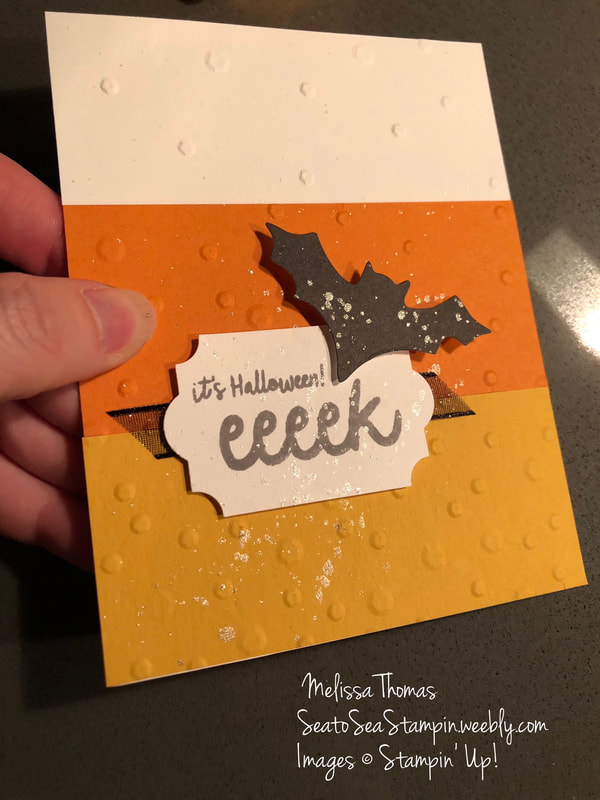
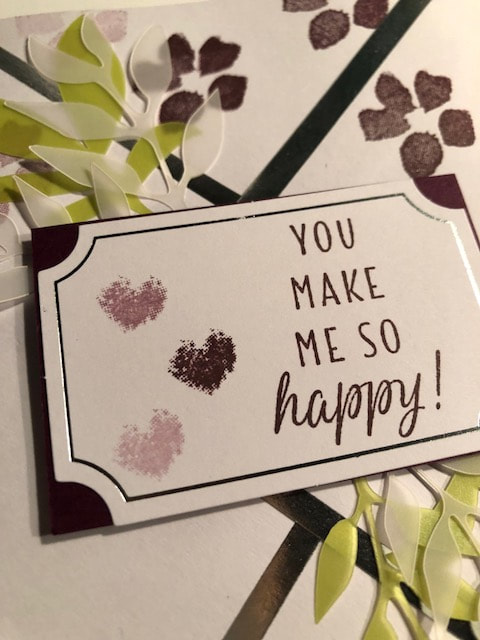
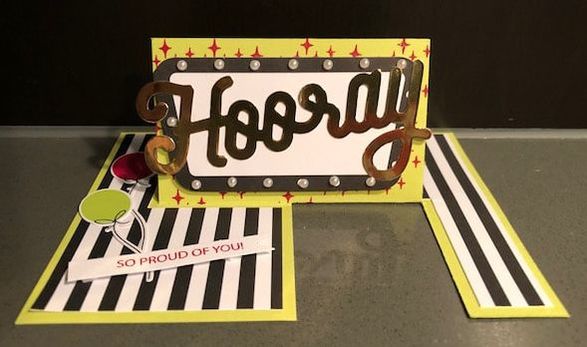
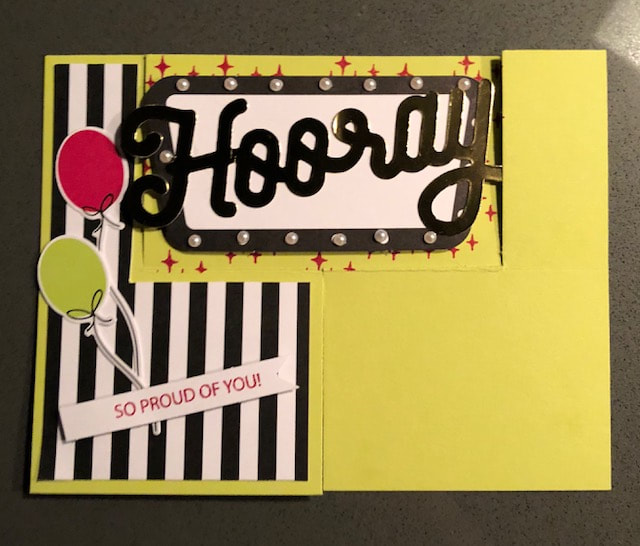
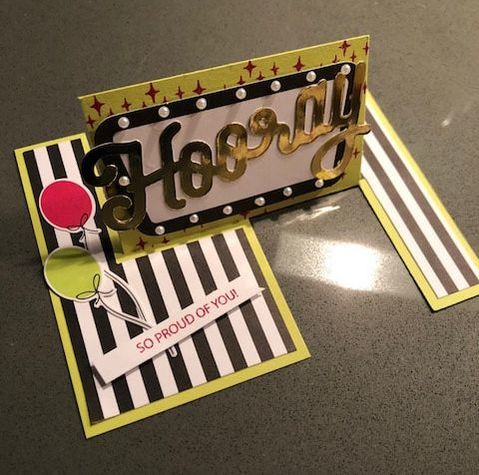
Add a strip of black cardstock, a sentiment, and one of each enamel dot and it's a happy happy card!
Add a strip of black cardstock, a sentiment, and one of each enamel dot and it's a happy happy card!
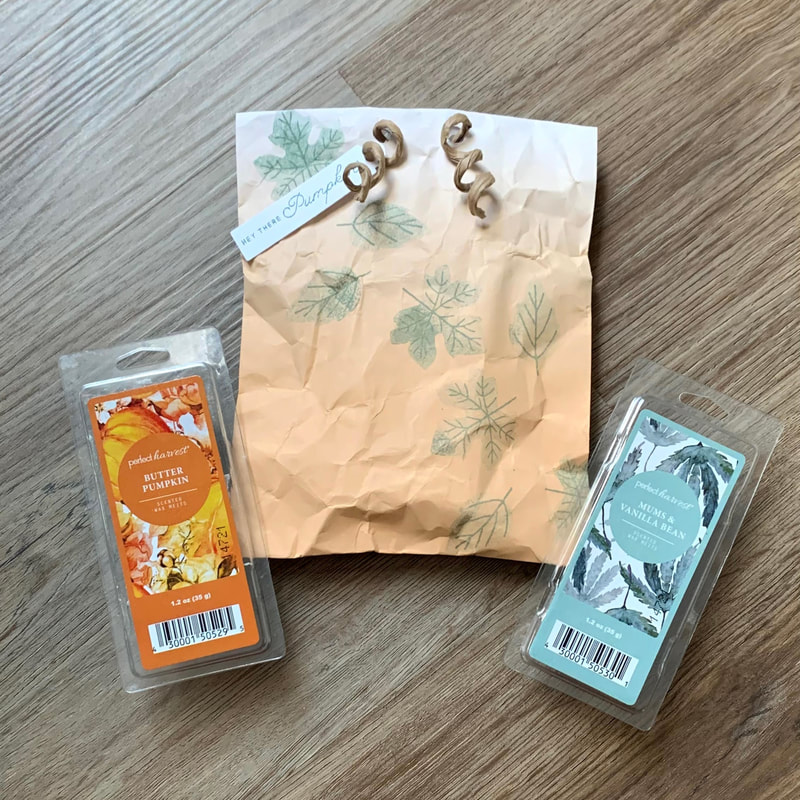
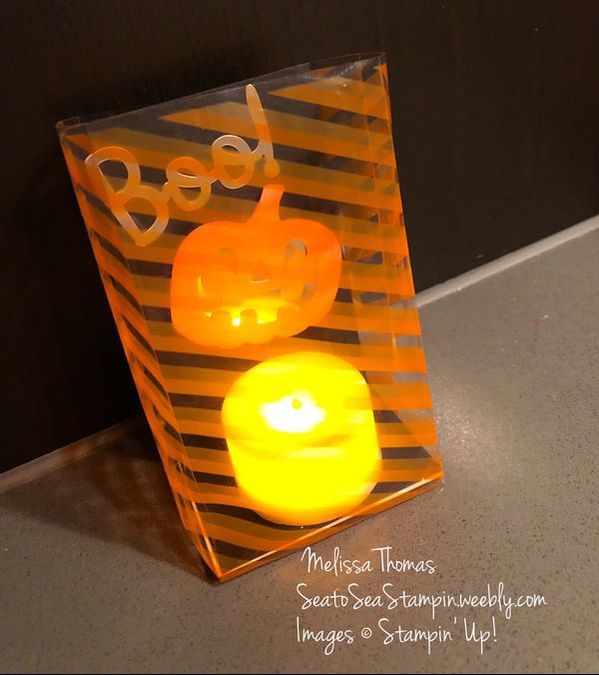
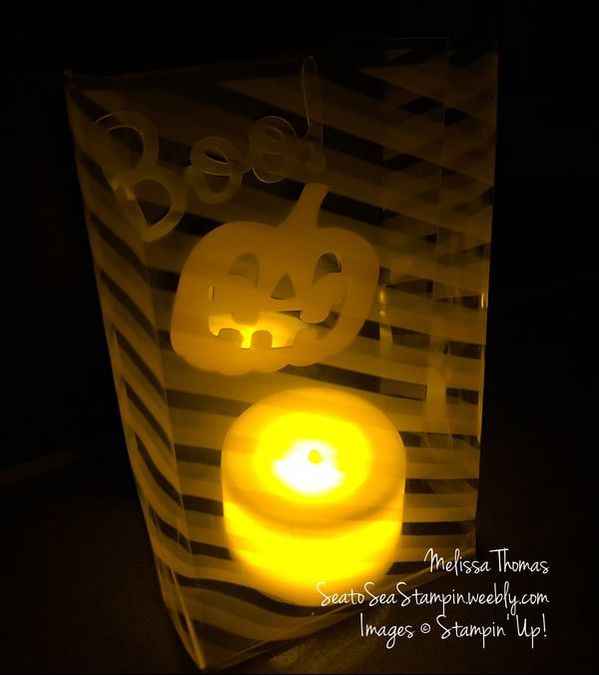
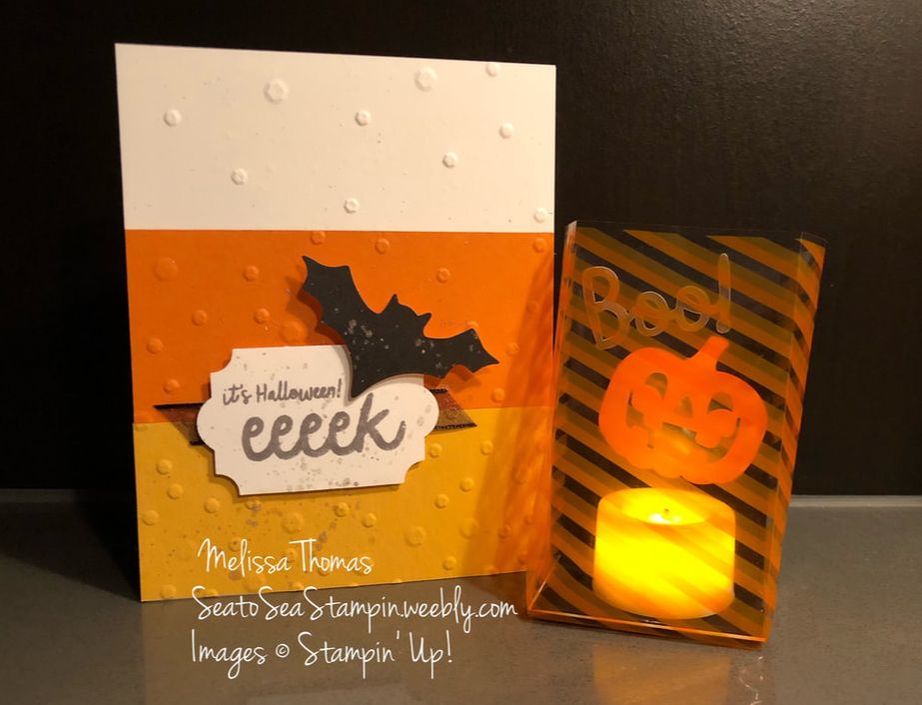
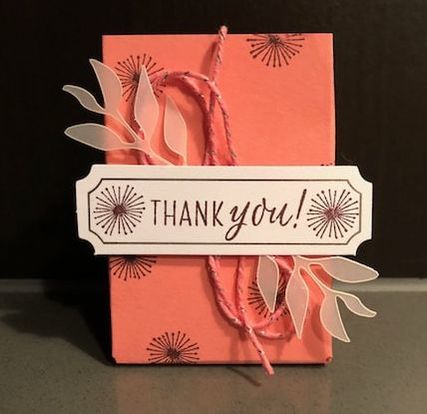
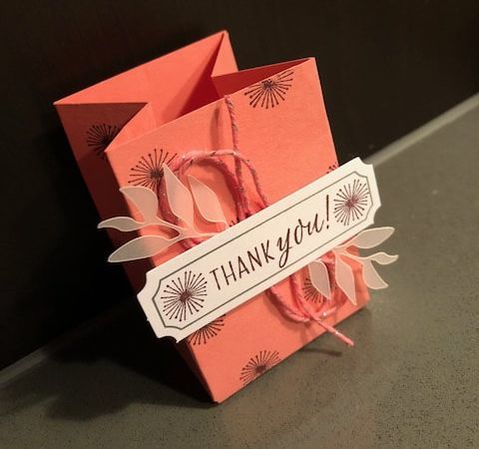
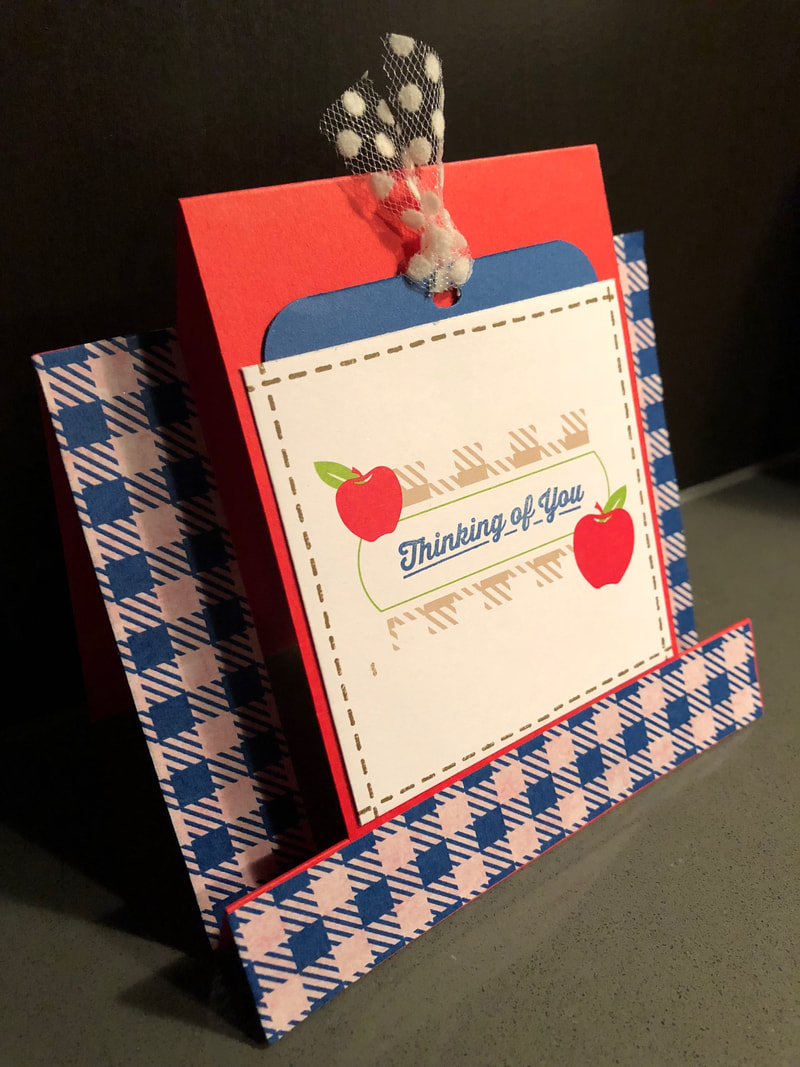
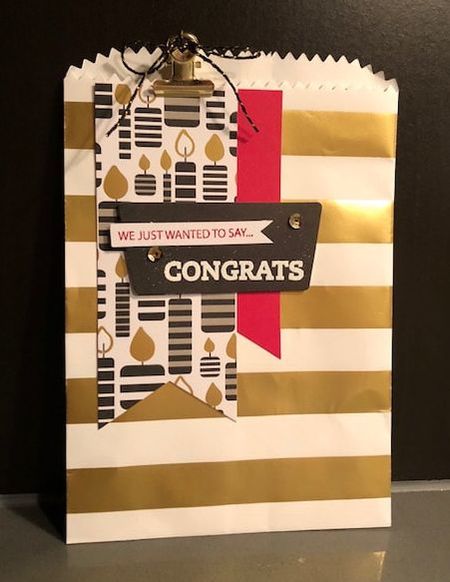
My 3D project features the new Peekaboo Treat bag-- which you can stamp on!!!! I then used the Orchid Oasis blend markers on the tag to create an ombre look... and used a strip of the Tea Boutique paper. So fun!

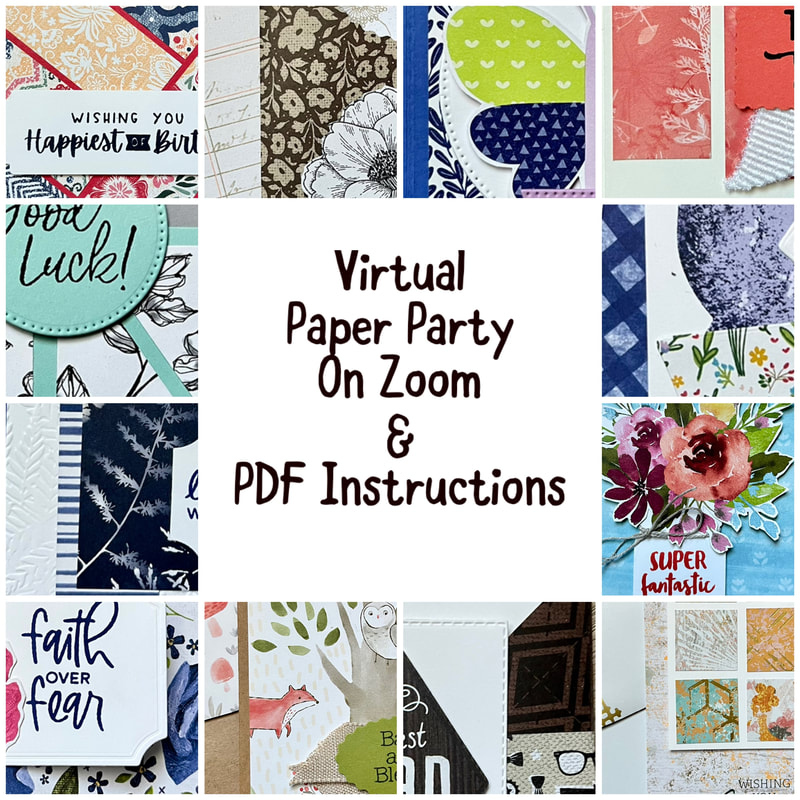
Don't forget to keep hopping along and if you like my design style, maybe consider coming to my Paper Party next Friday, June 3rd at 7pm Central on Zoom? Details below...
Happy crafting,
Melissa
Happy crafting,
Melissa