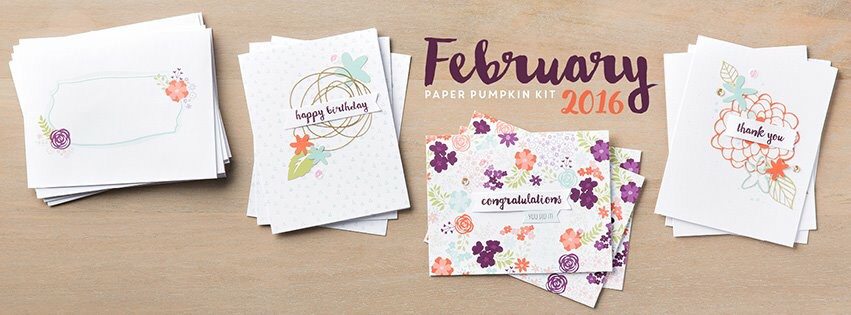
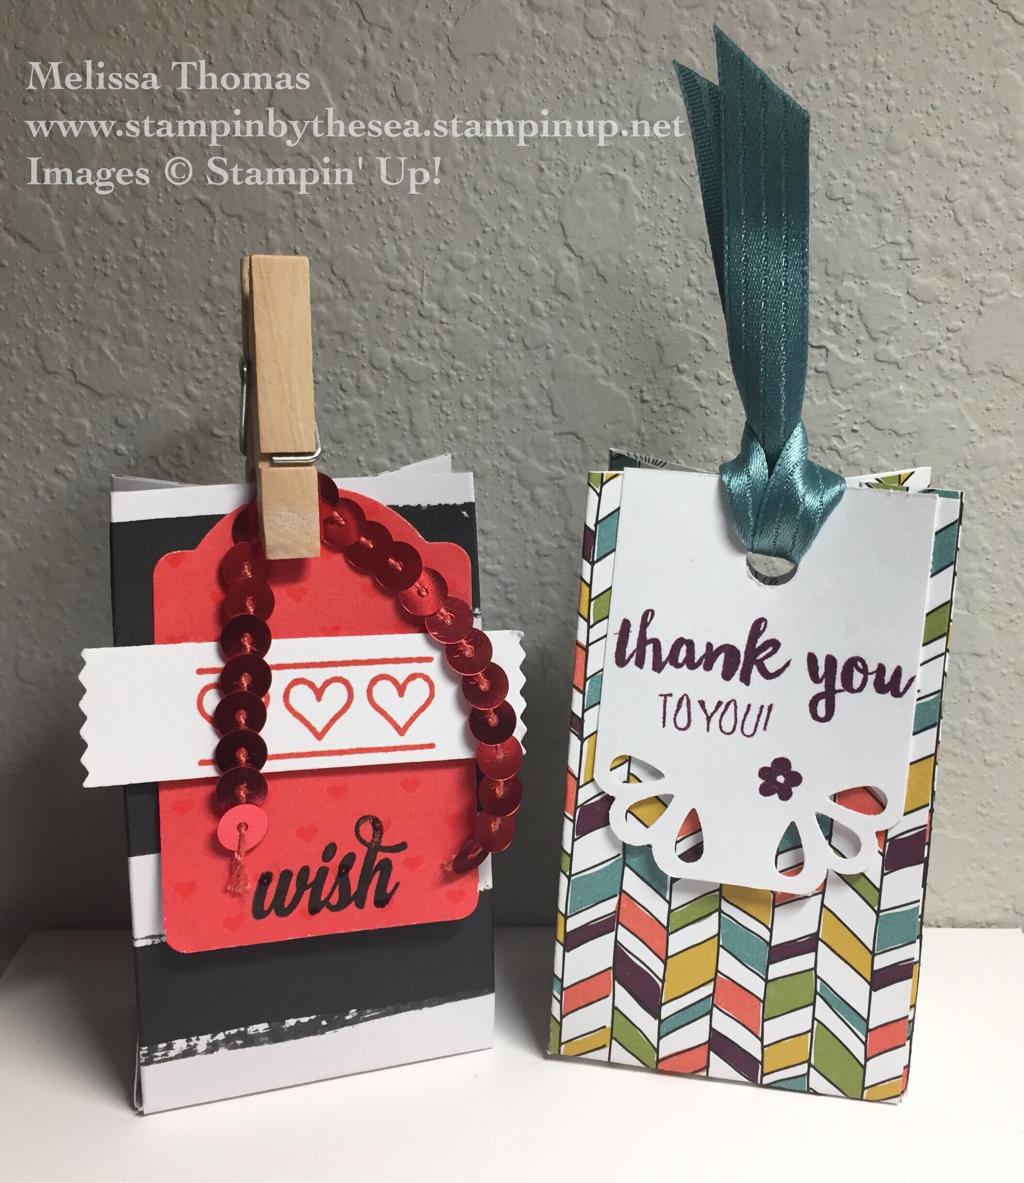
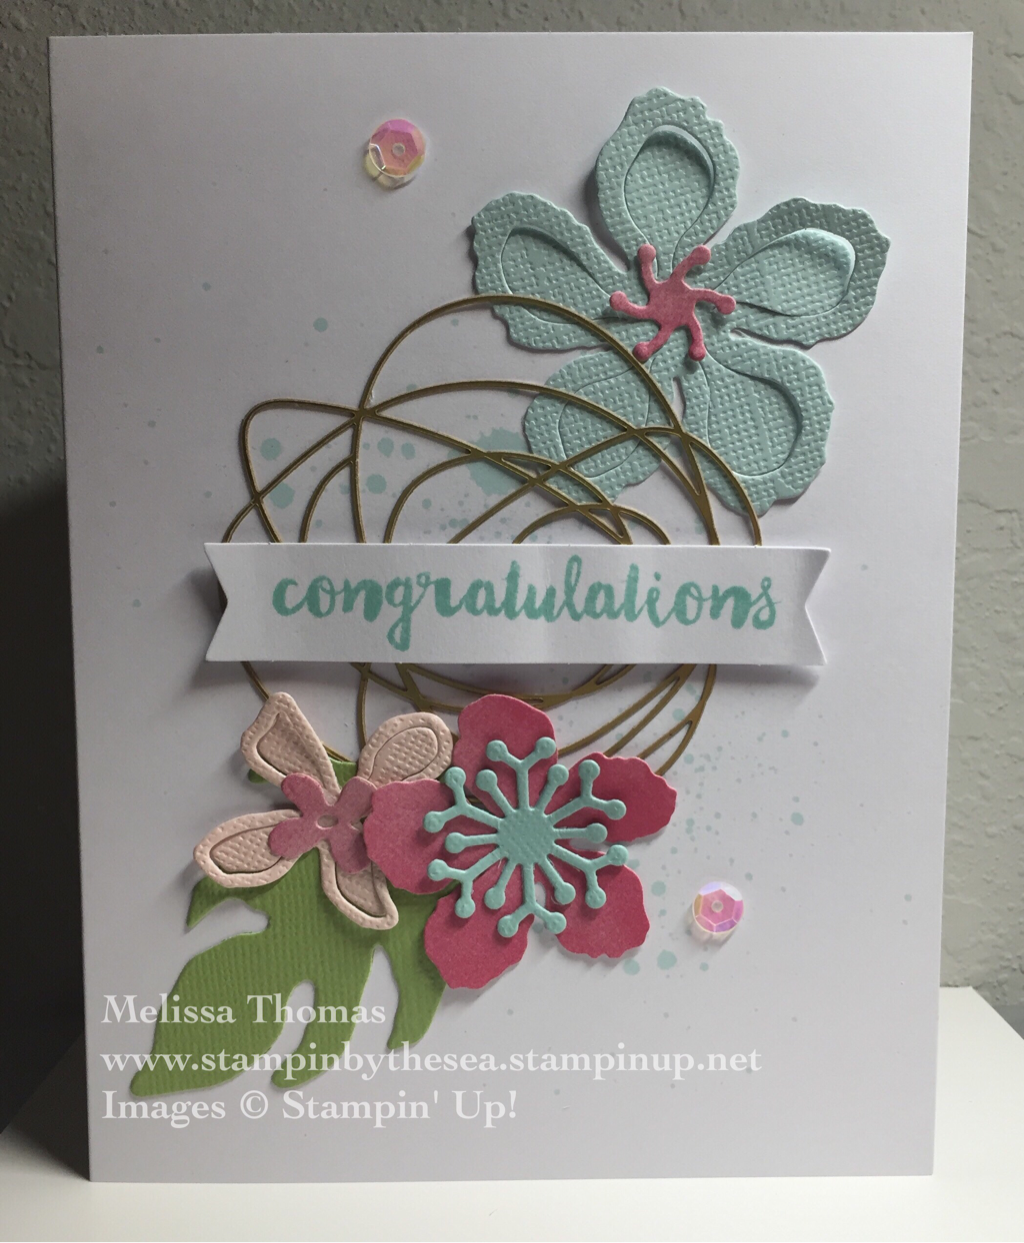
Each month you get the stamps, ink, and paper goods needed to make the projects-- usually 8 to 9 cards but sometimes home decor, goodie bags, etc! What I do a few things for my Paper Pumpkin subscribers:
-private Facebook group
-Pinterest board just for Paper Pumpkin
-add-on project every month
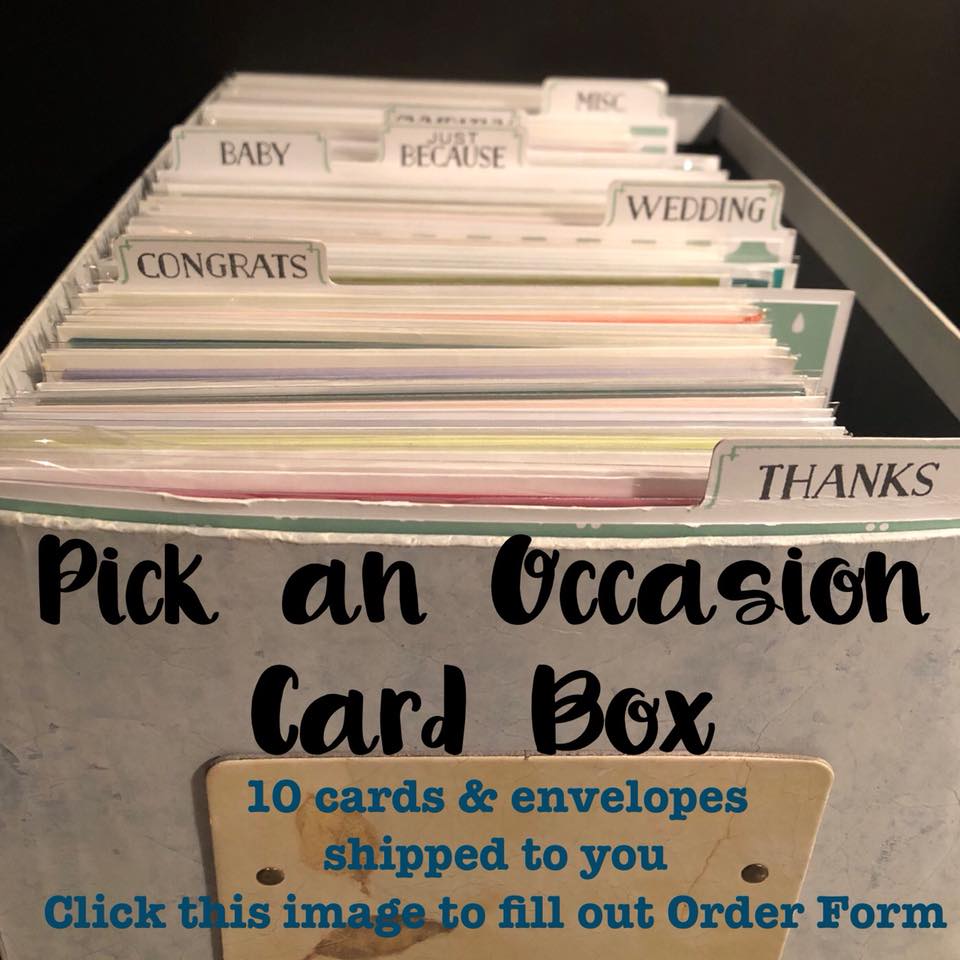
-first month of subscribing they get a special box to store stamps and four finished cards
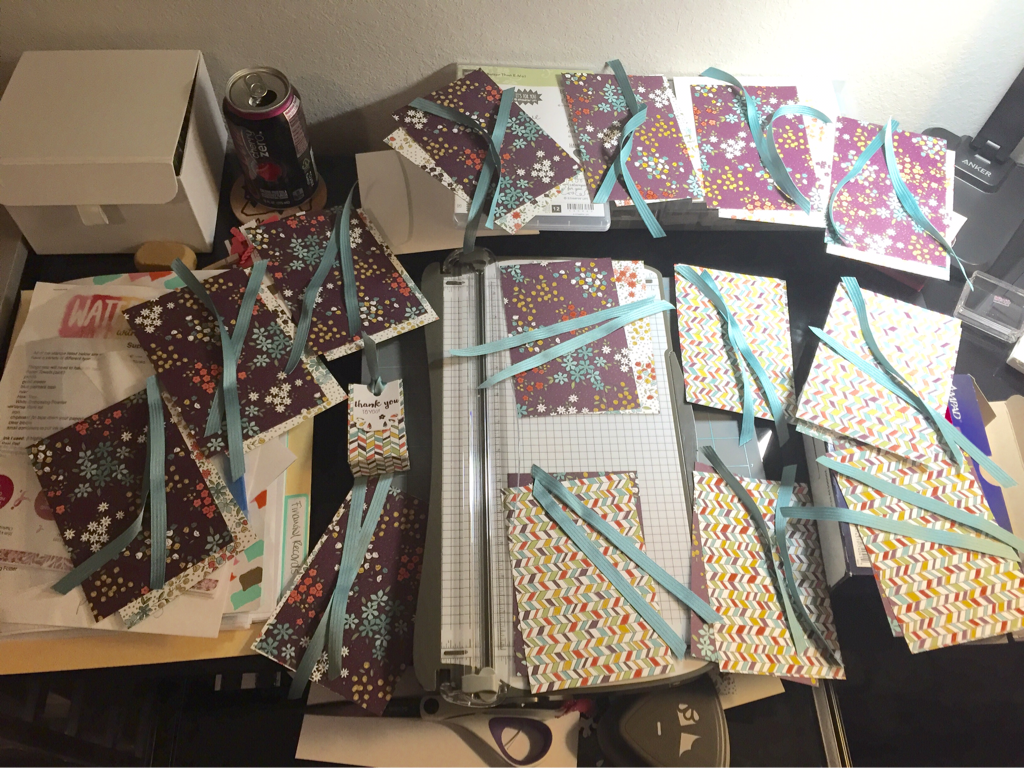
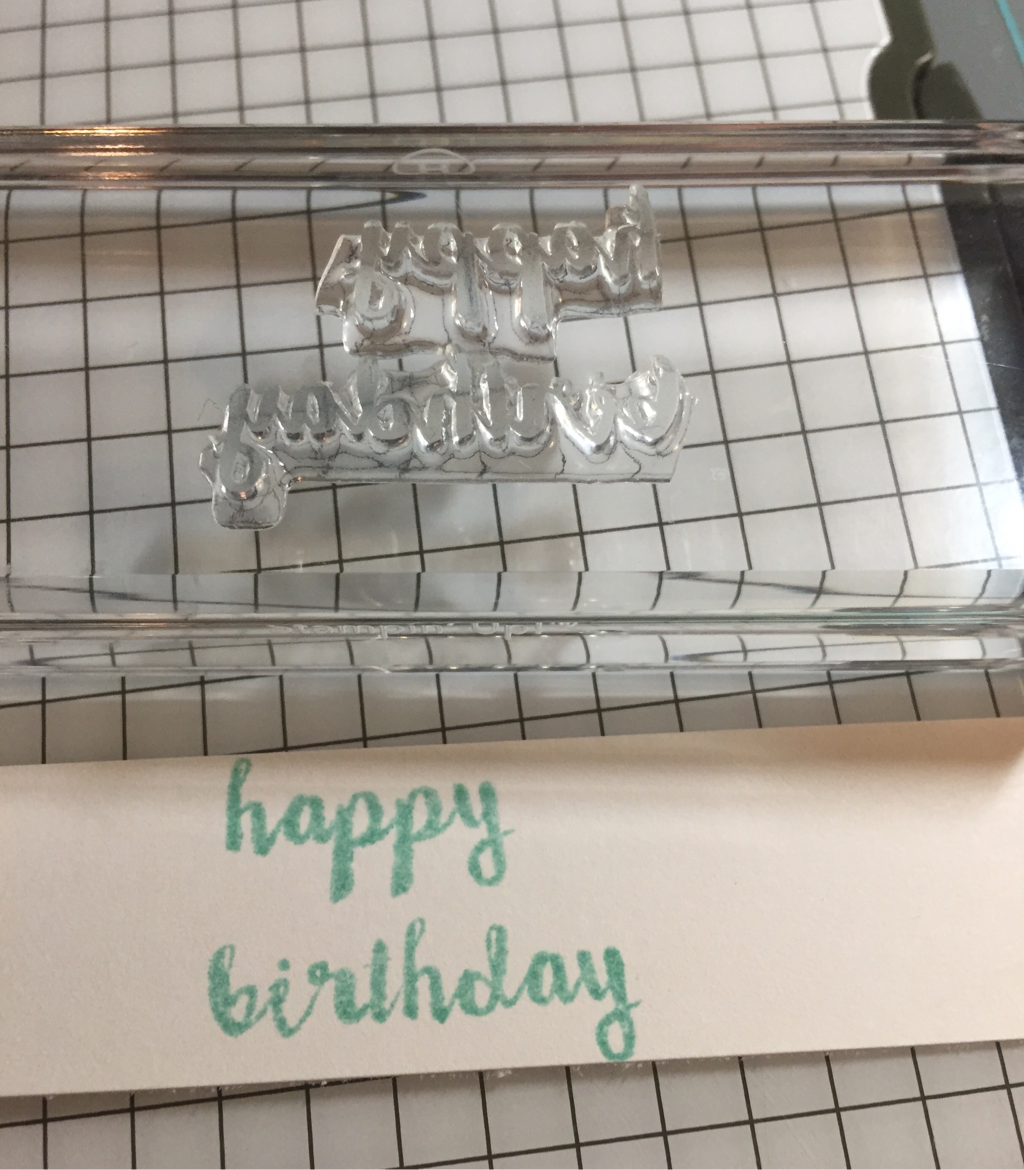
Below is a picture of the craziness of prepping this month's add-on project!
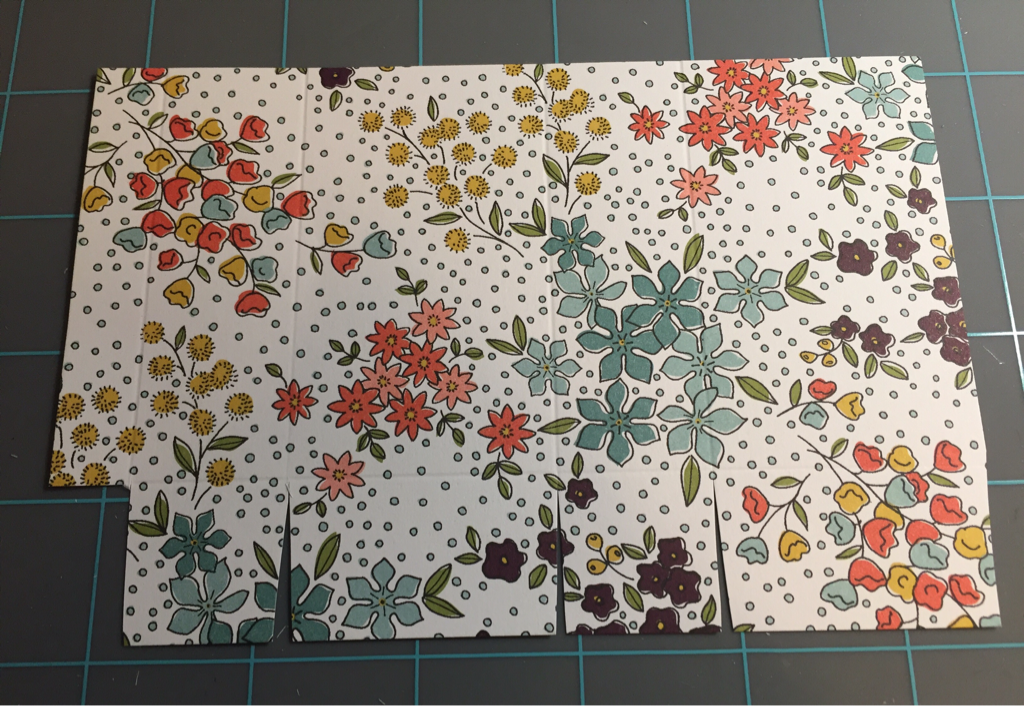
Step 1: Take a 6 inch by 4 inch piece of paper and score on the short side at 1 inch. On the long side score at 1 3/4 inch, 2 3/4 inch, 4 1/2 inch, and 5 1/2 inches.
Step 2: Layout the piece like below. Cut the smallest portion out of the lower left hand side.
Step 3: Cut slits up to the 1 inch fold line for the other three folds. Cut away on each side of a slit to make the bag go together easier.
Step 4: Tape runner the smallest edge on the left and fold it together left to right.
Step 5: Tape runner one bottom large flap on the opposite side and fold the bottom up.
Step 6: Squish the sides of the box to make a bag, attach tag, & punch through for ribbon.
BUT act now for a three month pre-paid subscription and you can earn a free Sale-a-bration item!!!! But only until March 31st!
http://www.stampinup.com/ECWeb/CategoryPage.aspx?categoryid=102100
Happy crafting,
Melissa

